
How to Stain Wood Without Blotches: The Pre-Stain Step Most Beginners Skip
TL;DR
How to stain wood without blotches starts before the stain ever touches your project: test on a scrap board first, use pre-stain conditioner on pine, and sand to the right grit — no finer. Pine blotches because its soft and hard grain soak up stain differently, not because you did something wrong. One scrap test, one conditioner coat, and a wipe-off technique will give you an even colour on your first try, and the rescue section below fixes a board that already blotched.
In this guide
- Why pine blotches (and oak usually does not)
- The scrap test: do this first, every time
- Sanding: the one grit rule
- Pre-stain checklist
- Applying stain, step by step
- Rescue: fixing a board that already blotched
- Safety: oily rags can catch fire
- FAQ
Why pine blotches (and oak usually does not)
Blotching is uneven stain absorption, and pine is built to blotch. Pine grain alternates between soft earlywood, which drinks stain deeply and goes dark, and hard latewood, which absorbs less and stays light. The result is a patchy, uneven colour that looks like a mistake, even when your technique was perfect.
Oak behaves differently. Its grain is more even in density, so stain absorbs more uniformly, and its bold grain pattern hides small variations. That is why oak stains beautifully with less preparation, and why pine needs the pre-stain step this guide is about. Plywood faces vary by veneer: oak-veneer plywood stains like oak, pine-veneer plywood blotches like pine. Our wood guide (https://sawdustden.site/pine-vs-oak-vs-plywood/) explains which material suits which finish if you have not chosen yet.
Understanding this changes the goal. You are not trying to force pine to behave like oak. You are evening out pine’s absorption before the stain goes on, so the soft grain and hard grain take colour at the same rate.
The scrap test: do this first, every time
Before you stain your project, stain a scrap board. Use an offcut of the same wood, from the same board if possible, because different boards of the same species still vary.
Take one pine offcut and divide it into three sections with pencil lines. Leave the first section bare. Brush pre-stain conditioner on the second section, let it dry as the product directs, then stain over it. Stain the third section with a gel stain, which sits on the surface instead of soaking deep.
Then stain all three sections with the same stain you plan to use, wipe off the same way, and let them dry. The difference will be obvious: the bare section will look blotchy, the conditioned section will look much more even (and a little lighter, because conditioner limits absorption), and the gel-stained section will look the most even of all, with the grain still visible but the blotches gone.
Pick the method that looks best on your scrap, and use exactly that method — same product, same timing, same wipe-off — on your project. Label the scrap with the wood and the product you used, and keep it. It is your reference if you need to touch up or match the colour later.
This test takes fifteen minutes and saves a ruined project. Skip it, and you are guessing on the piece you care about.
Sanding: the one grit rule
For stain-ready pine, sand through 120, then 150, then 180 grit, and stop there. Make the final pass by hand, sanding with the grain, not across it. Sand end grain one grit finer, to 220, because end grain soaks up stain much darker than face grain, and finer sanding slows that absorption.
Do not sand finer than 180 on faces in the hope of a smoother finish. Over-sanding closes the wood pores, so stain cannot penetrate evenly, and the colour comes out pale and washed out. That is the opposite of what most beginners expect, and it is a common cause of a disappointing stain that has nothing to do with the stain itself.
Sand with a random orbital sander for the early grits if you have one, then finish by hand. Remove all dust between grits and before staining — vacuum first, then wipe with a tack cloth or a slightly damp cloth, and let the surface dry completely. Dust left on the surface shows as rough spots under stain and topcoat.
Pre-stain checklist
Run through this list before the stain can comes out. Every item here prevents a specific blotch or flaw.
- Glue spots removed: dried glue blocks stain and shows as a pale patch. Wipe the whole piece with mineral spirits on a cloth — hidden glue spots show up as light areas against the darkened wet wood. Sand them out and re-check.
- Dust fully removed: vacuum, then tack cloth, then let dry. Any dust left behind becomes texture under the finish.
- Test board done: your scrap test from above, with the winning method noted and the scrap labelled.
- End grain prepared: sand end grain to 220 and condition it first, or it will go much darker than the faces.
- Work area ready: good ventilation, gloves on, rags and containers ready, and a flat surface where the piece can dry undisturbed.
If any item is not done, stop and do it. Stain is unforgiving of preparation skipped in a hurry.
Applying stain, step by step
Stir the stain, do not shake it. Shaking whips air bubbles into the stain, which show as tiny craters. Stir gently until the colour is uniform, especially for pigmented stains that settle.
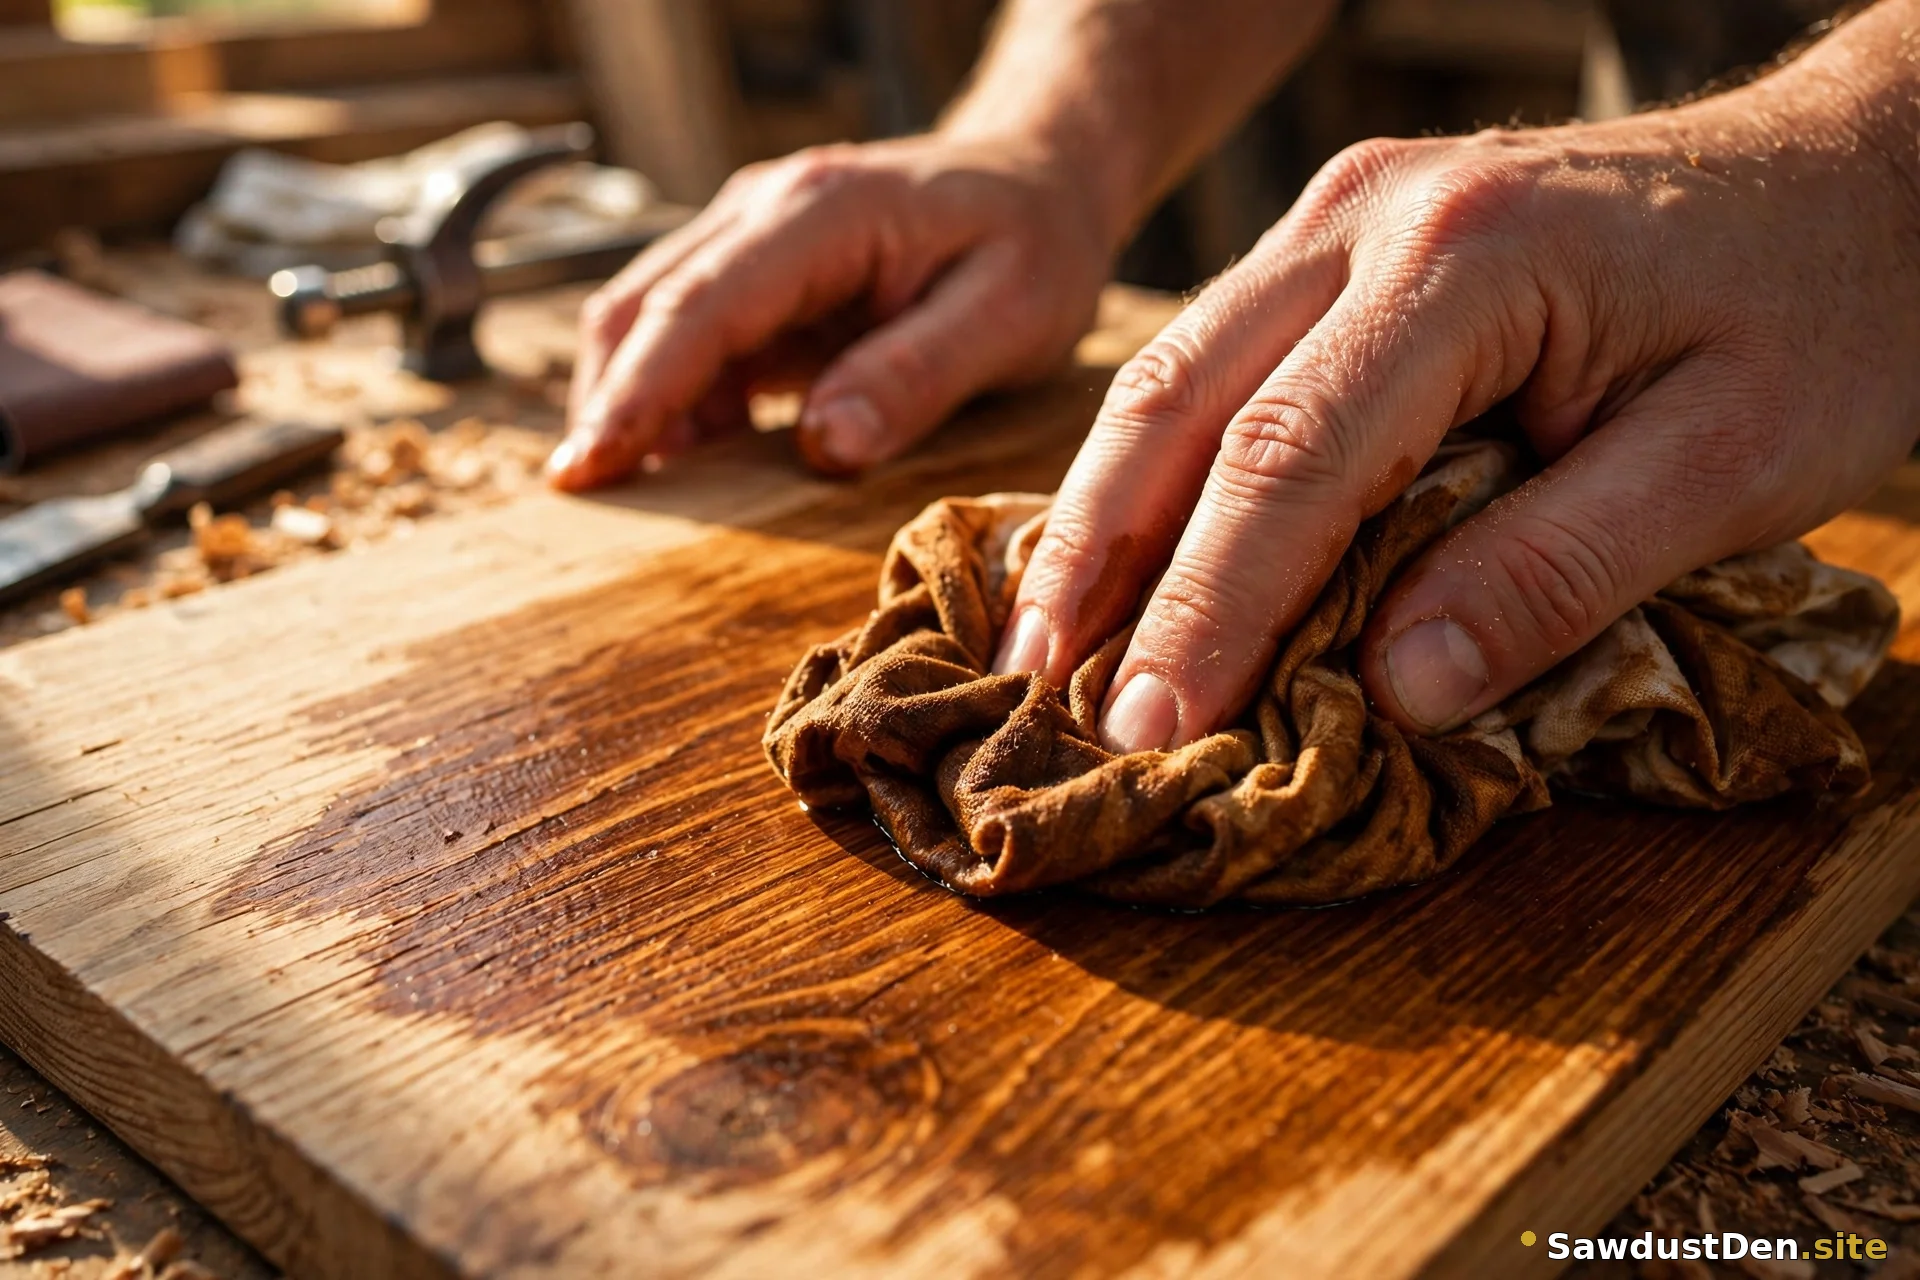
Brush or wipe the stain on in the direction of the grain, working in sections small enough that you can keep a wet edge — the boundary between wet stain and dry wood should never sit long enough to dry into a lap mark. Let the stain sit for the time your product directs, usually a few minutes, then wipe off the excess with a clean cloth, again with the grain. Wiping off is what controls the colour: leave more on for darker, wipe more off for lighter, but wipe evenly, or the unevenness becomes the blotch you were trying to avoid.
Do the end grain first or condition it first, as above, so it does not go dark while the faces are still being worked. Let the first coat dry fully before judging the colour — wet stain always looks darker than dry stain — and before applying a second coat or a topcoat. A clear topcoat after full drying protects the colour and evens the sheen, but it cannot fix a blotchy stain underneath, so get the stain right first.
Rescue: fixing a board that already blotched
A blotchy board is not ruined. Here is how to fix each common problem.
Blotchy colour: sand the piece back to bare wood with 120 then 150 then 180 grit, removing the stain evenly, then restain using conditioner or gel stain, following the scrap-test method. Sanding back feels drastic, but it is faster and more reliable than trying to even out a blotchy coat with more stain on top, which usually makes it worse.
Sticky surface: the stain was applied too thick or not wiped off enough. Wipe the surface with a cloth dampened with mineral spirits to remove the excess, then let it dry fully in ventilation. Thin coats that dry completely beat one thick coat that stays tacky.
Dark end grain: sand the ends finer (to 220 or beyond) and condition them before restaining, or sand the dark ends back and restain them alone with a lighter touch, blending into the faces while wet.
Lap marks: dark lines where wet stain met dry stain. Sand back the marked area and restain in smaller sections, keeping a wet edge across the whole piece. Work faster, in better light, so you can see the wet edge as you go.
In every case, test the fix on a scrap or a hidden area first. Rescue work done blind can create a second problem on top of the first.
Safety: oily rags can catch fire
This is the most important section in the guide, and it is not an exaggeration. Rags soaked with oil-based stain or oil finish can spontaneously combust as the oil oxidises and builds heat. A balled-up oily rag in a bin is a genuine fire risk.
Lay used rags flat outdoors, spread out so air can reach them, until they are fully dry and stiff. Or store them submerged in water in a sealed metal container. Never ball them up in a bin, a pile, or a plastic bag while still wet with oil. Keep rags away from heat sources, and work with good ventilation and gloves throughout staining. Water-based stains do not carry the same spontaneous-combustion risk, but the flat-drying habit costs nothing and keeps you safe across products.
FAQ
Why did my pine stain blotchy?
Because pine’s soft earlywood and hard latewood absorb stain at different rates. It is the wood, not your technique. Use pre-stain conditioner or gel stain, sand to 180 grit (not finer), and test on a scrap first — the three steps in this guide that even out absorption before the stain goes on.
Do I need conditioner on oak?
Usually not. Oak’s grain absorbs stain more evenly, so conditioner is often unnecessary and can lighten the colour more than you want. Test on a scrap of your oak first: if the colour is even without conditioner, skip it. If you see unevenness, a light conditioner coat will help without harming the result.
Can I fix a blotchy stain without starting over?
Sometimes, for light blotching, a second coat of gel stain — which sits on the surface — can even out the colour without sanding back. For moderate or heavy blotching, sanding back to bare wood and restaining with conditioner or gel is the reliable fix. Trying to cover heavy blotches with more penetrating stain usually makes them darker and more obvious.
Oil-based or water-based stain for a beginner?
Oil-based stain is more forgiving: it dries slower, giving you more time to wipe evenly and keep a wet edge, and it enriches the grain. Water-based stain dries fast, raises the grain (so you need a light sanding after the first coat), and is easier to clean up. For a first stain project, oil-based is usually the easier path — just follow the oily-rag safety rule above without exception.
Why is my stain still sticky?
Too much stain was left on the surface, or it has not had enough time or ventilation to dry. Wipe off the excess with a mineral-spirits-dampened cloth, then let the piece dry fully in a ventilated area before topcoating. Do not topcoat over tacky stain — the topcoat will trap the stickiness and never cure properly.
If a stain result still does not make sense, or your wood is doing something this guide does not cover, send a message through the Contact page (https://sawdustden.site/contact/) and we will help you sort it out.