How to Build a Wooden Shelf With a Full Cut List (No Guesswork, No Missing Pieces)
TL;DR
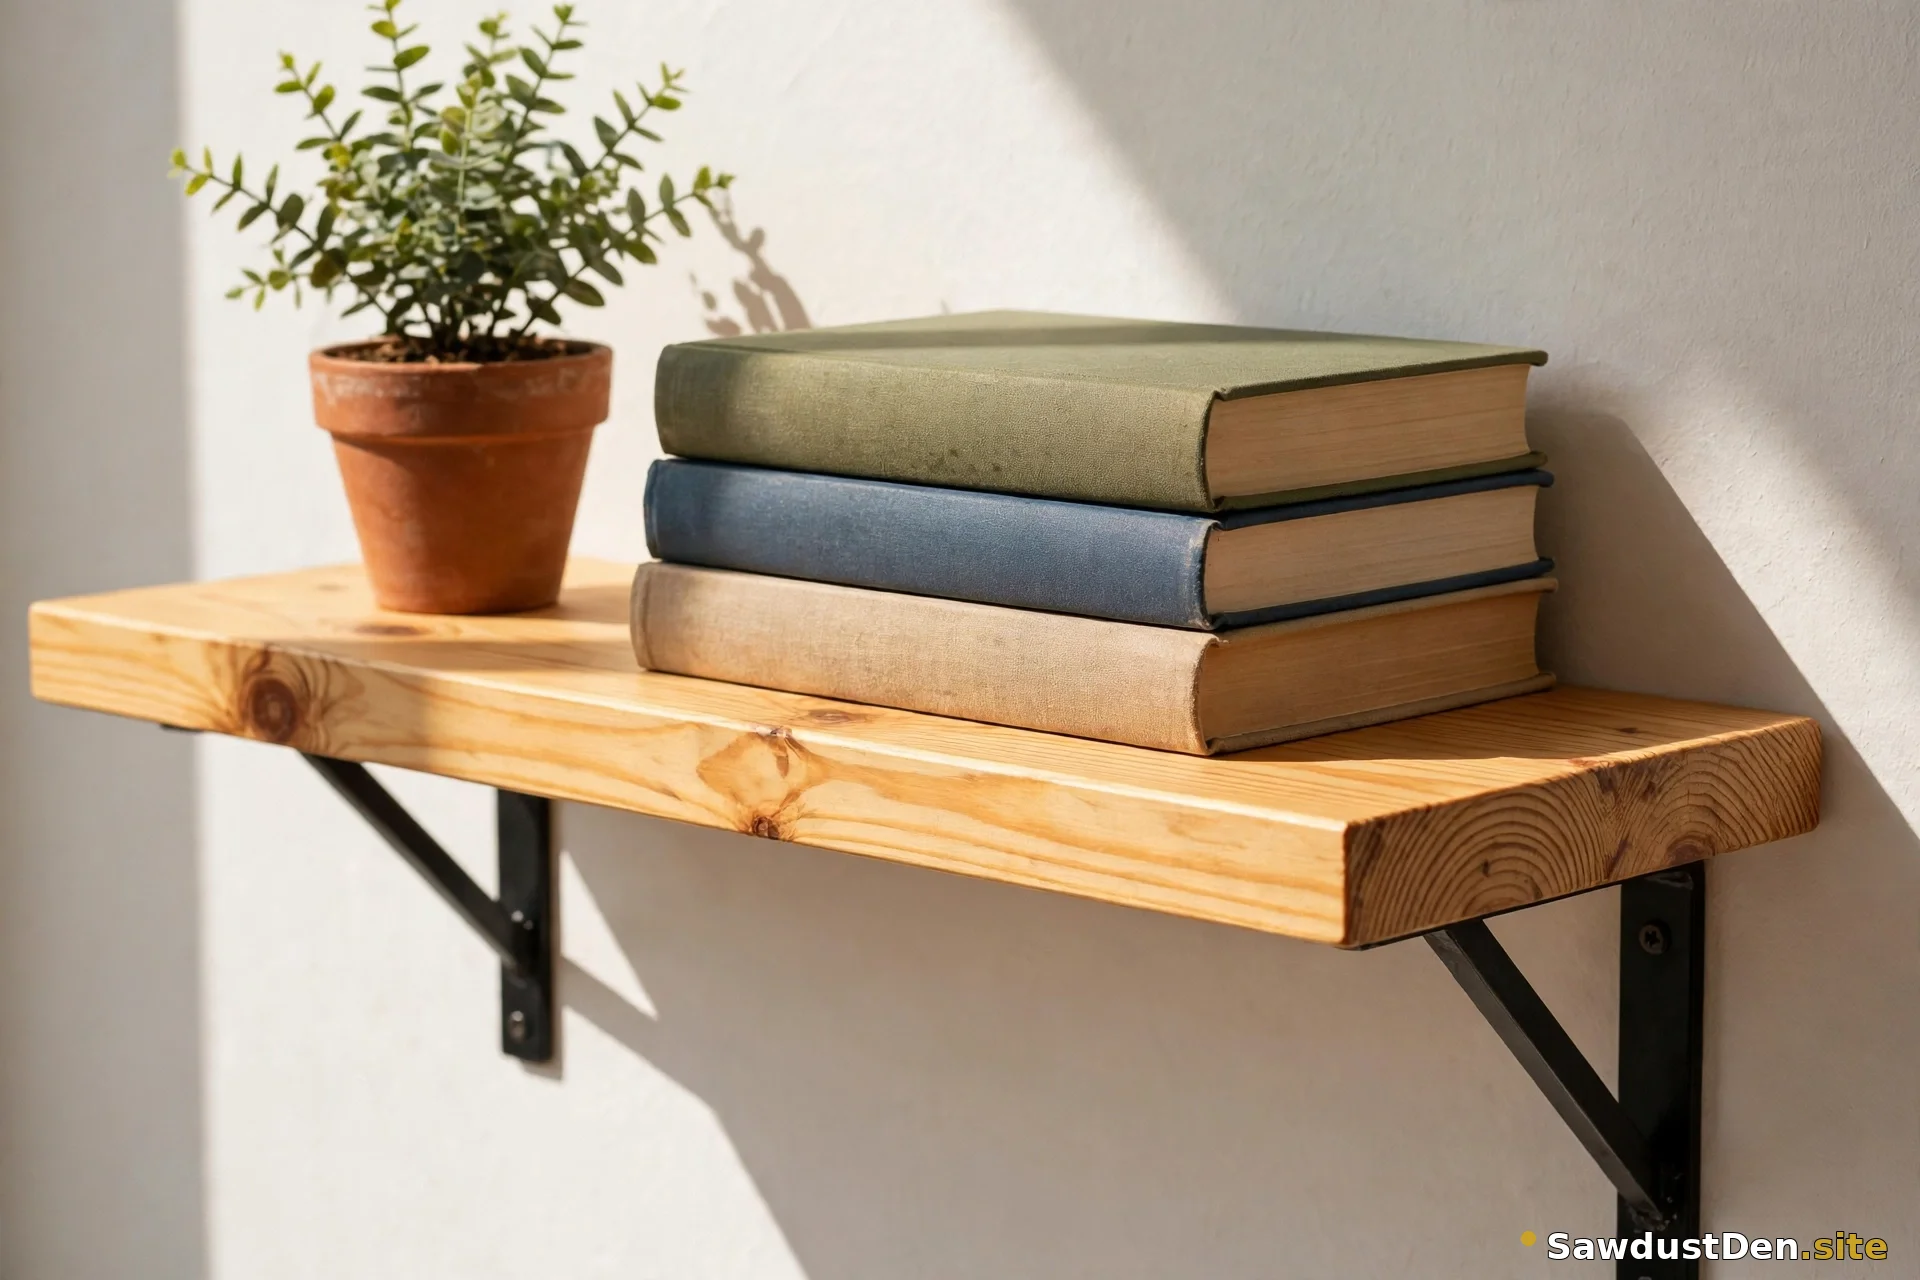
How to build a wooden shelf without guesswork: one plain wall shelf, 36 inches wide and 11 inches deep, built from a single board plus twelve screws. No configurator, no formulas, no missing pieces: the full cut list, the shopping list, and the steps in order are all below. Find the studs, mount a cleat, fit the brackets, set the shelf, check the level. Done in an afternoon, and it will hold a row of books without sagging.
In this guide
- The full cut list
- What to buy (one board, one trip)
- Tools you need
- Steps in order
- If your wall has no studs in the right place
- How much weight will it hold?
- FAQ
Why this shelf, and why a fixed list
Most simple shelf guides online are not actually simple. They are floating-shelf configurators where you plug in numbers and work out the cuts yourself, or full bookcases that are a much bigger project than a first build, or garage shelving that assumes a different wall and different tools. A beginner who wants one plain wall shelf ends up stitching several pages together just to get a cut list, a shopping list, and a weight answer in one place.
This guide fixes that with one fixed build. Same shelf, same pieces, same steps, every time. If you want a different size later, the resizing notes at the end tell you how, but build this one first, exactly as listed, and you will learn measuring, drilling, and mounting in a single afternoon.
The full cut list
These are finished dimensions, what each piece should measure after cutting. All pieces are 3/4 inch thick.
- Shelf board: 36 x 11 x 3/4 inch, quantity 1
- Side brackets: 11 x 8 x 3/4 inch, quantity 2
- Back cleat: 36 x 3 x 3/4 inch, quantity 1
- Screws: #8 x 1-1/4 inch, quantity 12
That is the whole list. Four kinds of pieces, twelve screws, nothing else structural. Wood glue is optional for the bracket joints and adds strength if you use it, but the shelf does not depend on glue, the screws into the studs do the holding.
What to buy (one board, one trip)
Buy one board: a 1×12 board, 8 feet long. That single board covers the shelf, both brackets, and the cleat, with room to spare.
One honest note about board sizes, because this trips up every beginner at the store: a board labelled 1×12 does not actually measure 1 inch by 12 inches. It measures 3/4 inch thick by 11-1/4 inches wide. That is the standard surfaced size, and it is fine for this shelf. If you want the shelf exactly 11 inches deep, ask the store to trim a quarter inch off the width. If you do not mind an extra quarter inch of depth, use the board as it comes — the brackets, at 11 inches deep, will simply sit a quarter inch back from the front edge of the shelf, which looks intentional and clean.
Ask the store to cut the board for you. Bring this list and ask for: one 36-inch shelf piece, two 11-inch by 8-inch brackets, and one 36-inch by 3-inch cleat strip. Store cuts cover this whole first build, so you do not need to own a saw yet. Take the pieces home, and check each one against the cut list with your tape measure before you start. A wrong cut caught at home is a quick trip back; a wrong cut found mid-assembly is a ruined afternoon.
Shopping list, complete: one 1×12 × 8 ft board, twelve #8 × 1-1/4 inch screws, and a small bottle of wood glue if you want it (optional). That is all you need to buy.
Tools you need
This shelf needs only the beginner kit from our tools guide: tape measure, speed square, pencil, drill/driver, clamps, safety glasses, and a dust mask. If you have not read it yet, start with Beginner Woodworking Tools: The Only 7 You Actually Need (And What to Skip for Now) — it explains the buy order and what each tool does. You will also need a stud finder (a basic magnetic or electronic one is fine) and a level, which most households already own or can borrow for an afternoon.
Steps in order
1. Find the studs
Studs are the vertical framing behind your drywall, usually spaced 16 inches apart. Run the stud finder slowly across the wall at shelf height and mark each stud edge with pencil, then mark the centre of each stud. Check with a second method: knock along the wall and listen for the solid sound over a stud versus the hollow sound between studs, or look for outlets and switches, which are usually mounted to a stud on one side. You want at least two studs under a 36-inch shelf, and ideally the cleat screwed into studs along its length. Before you drill, check the area with the stud finder for wiring and pipes, and never drill blindly where you know wires run.
2. Mark the level line
Decide your shelf height, then hold the level against the wall and draw a light pencil line where the top of the cleat will sit. Check the line twice, from both ends, before you drill anything. A shelf that starts unlevel stays unlevel, and no amount of adjusting the brackets later fixes a crooked cleat.
3. Mount the cleat
Hold the 36-inch cleat on the level line and clamp it in place if you can, or have someone hold it steady. Drill pilot holes through the cleat and into the studs first — pilot holes near board ends stop the wood from splitting — then drive screws through the cleat into at least two studs. The cleat is what carries the weight, so this step matters more than any other. If a screw spins without biting, you missed the stud: back it out, re-check your stud marks, and try again in the centre of the stud.
4. Fit the brackets
The two side brackets sit under the shelf, one near each end, screwed into the cleat and into the wall. Mark their positions square to the cleat using the speed square, clamp each bracket in place, drill pilot holes, and drive screws through the bracket into the cleat. Keep the brackets square to the wall, not angled, or the shelf will rock.
5. Set the shelf
Lay the shelf board on top of the brackets and cleat, push it tight to the wall, and check that it sits flat with no rocking. Clamp it in place, drill pilot holes down through the shelf into the brackets, and drive screws to fix it. If you are using glue as well, spread a thin, even coat on the bracket tops before setting the shelf, then clamp and screw as normal and wipe away squeeze-out right away with a damp cloth.
6. Check the level and finish
Put the level on the shelf in both directions: along its length and front to back. Adjust by loosening a screw, nudging the piece, and re-tightening — do not force a piece that is fighting you, or you will split it. Once it is level, fill screw heads if you like, sand any rough edges lightly with the grain, and finish the shelf however you planned: leave it natural, stain it, or paint it. If you stain, test the finish on an offcut first, because pine and similar softwoods blotch without a pre-stain conditioner.
If your wall has no studs in the right place
Move the shelf. That is the honest answer for a first build, and it is the one most guides skip.
If your chosen spot has no studs where the cleat needs them, slide the shelf left or right until the cleat hits at least two studs. A shelf moved six inches still holds books perfectly well. A shelf screwed only into drywall, no matter how many anchors you use, will eventually pull out under a row of books — and eventually usually means at night, with a crash.
Heavy-duty wall anchors exist, and they have their place, but they are a different project with their own rules. For this first shelf, studs are the method. Move the shelf, hit the studs, sleep well.
How much weight will it hold?
A 36-inch shelf screwed into studs through a cleat, with brackets under it, will hold a row of everyday books and decor without sagging. That is the practical answer, and it is the one that matters: if you press the middle of the loaded shelf and it flexes noticeably, it is overloaded. Take weight off rather than adding brackets as an afterthought.
Do not trust a number from a package here. Real holding power depends on your studs, your screws, and your wall, not a rating printed on a box. The rule that keeps you safe is simple: studs plus cleat plus brackets equals a working shelf. Drywall alone does not, no matter what the anchor packaging claims.
FAQ
How much weight will a 36-inch shelf hold?
A row of books and decor, comfortably, when the cleat is screwed into at least two studs and the brackets are square and tight. It will not hold a full wall of textbooks edge to edge without sagging, and it should never be loaded until it flexes. If it flexes under load, take weight off.
What if my wall has no studs in the right place?
Move the shelf until the cleat hits studs. Do not split the difference with drywall-only fixings for a loaded shelf. A few inches left or right makes no difference to how the shelf looks, and all the difference to how it holds.
Can I make it longer than 36 inches?
Yes, but not by just stretching the same pieces. Keep the span between supports at 36 inches or less: for a longer shelf, add a centre bracket (and a stud under it) so no section spans more than 36 inches unsupported. Longer spans sag in the middle, even in thick boards, and no finish fixes a sagging shelf.
Do I need a pocket-hole jig for this?
No. This shelf joins with screws through the cleat and brackets into the wall and into each other, with pilot holes to prevent splitting. A pocket-hole jig makes a different style of shelf with hidden screws, and it is a fine later buy — but it is not needed here, and buying one first would not make this shelf any stronger.
If a step in this guide does not make sense, or your wall is doing something strange that the guide does not cover, send a message through the Contact page and we will help you sort it out.