Cutting Board Project: Build Your First Hardwood Board in a Weekend (No Planer Needed)
TL;DR
Cutting board project for beginners: build your first hardwood board in a weekend, no planer needed. Glue five hardwood strips into a flat 12-inch by 9-inch board, flatten it with a sander and a straightedge, and finish it with food-safe mineral oil and board wax only. No table saw, no planer, no router — just the beginner kit, a flat bench, and patience while the glue cures.
In this guide
- Which board to build (and which builds to skip)
- Choosing wood that is safe for food
- The full cut list
- What to buy
- Tools you need
- Steps in order
- Flattening without a planer
- Food-safe finish and care
- FAQ
Which board to build (and which builds to skip)
Cutting board guides split into two extremes, and neither one suits a true beginner. On one side are single-board decorative boards: one piece of wood, cut to shape, sanded, and oiled. They look nice, but they teach almost nothing about glue-ups, and they are not the board most people picture when they say “cutting board project.”
On the other side are end-grain butcher blocks and planer-dependent builds: thickness planers, table saws, and routers assumed from step one. They make beautiful boards, and they are the wrong second project, let alone the first.
This guide builds the middle board, and it is the right first glue-up: an edge-grain board, made from strips glued side by side, finished flat with a sander instead of a planer. You learn strip selection, glue-up, clamping flat, sanding through the grits, and food-safe finishing — the whole skill set — on a board you will actually use every day.
Choosing wood that is safe for food
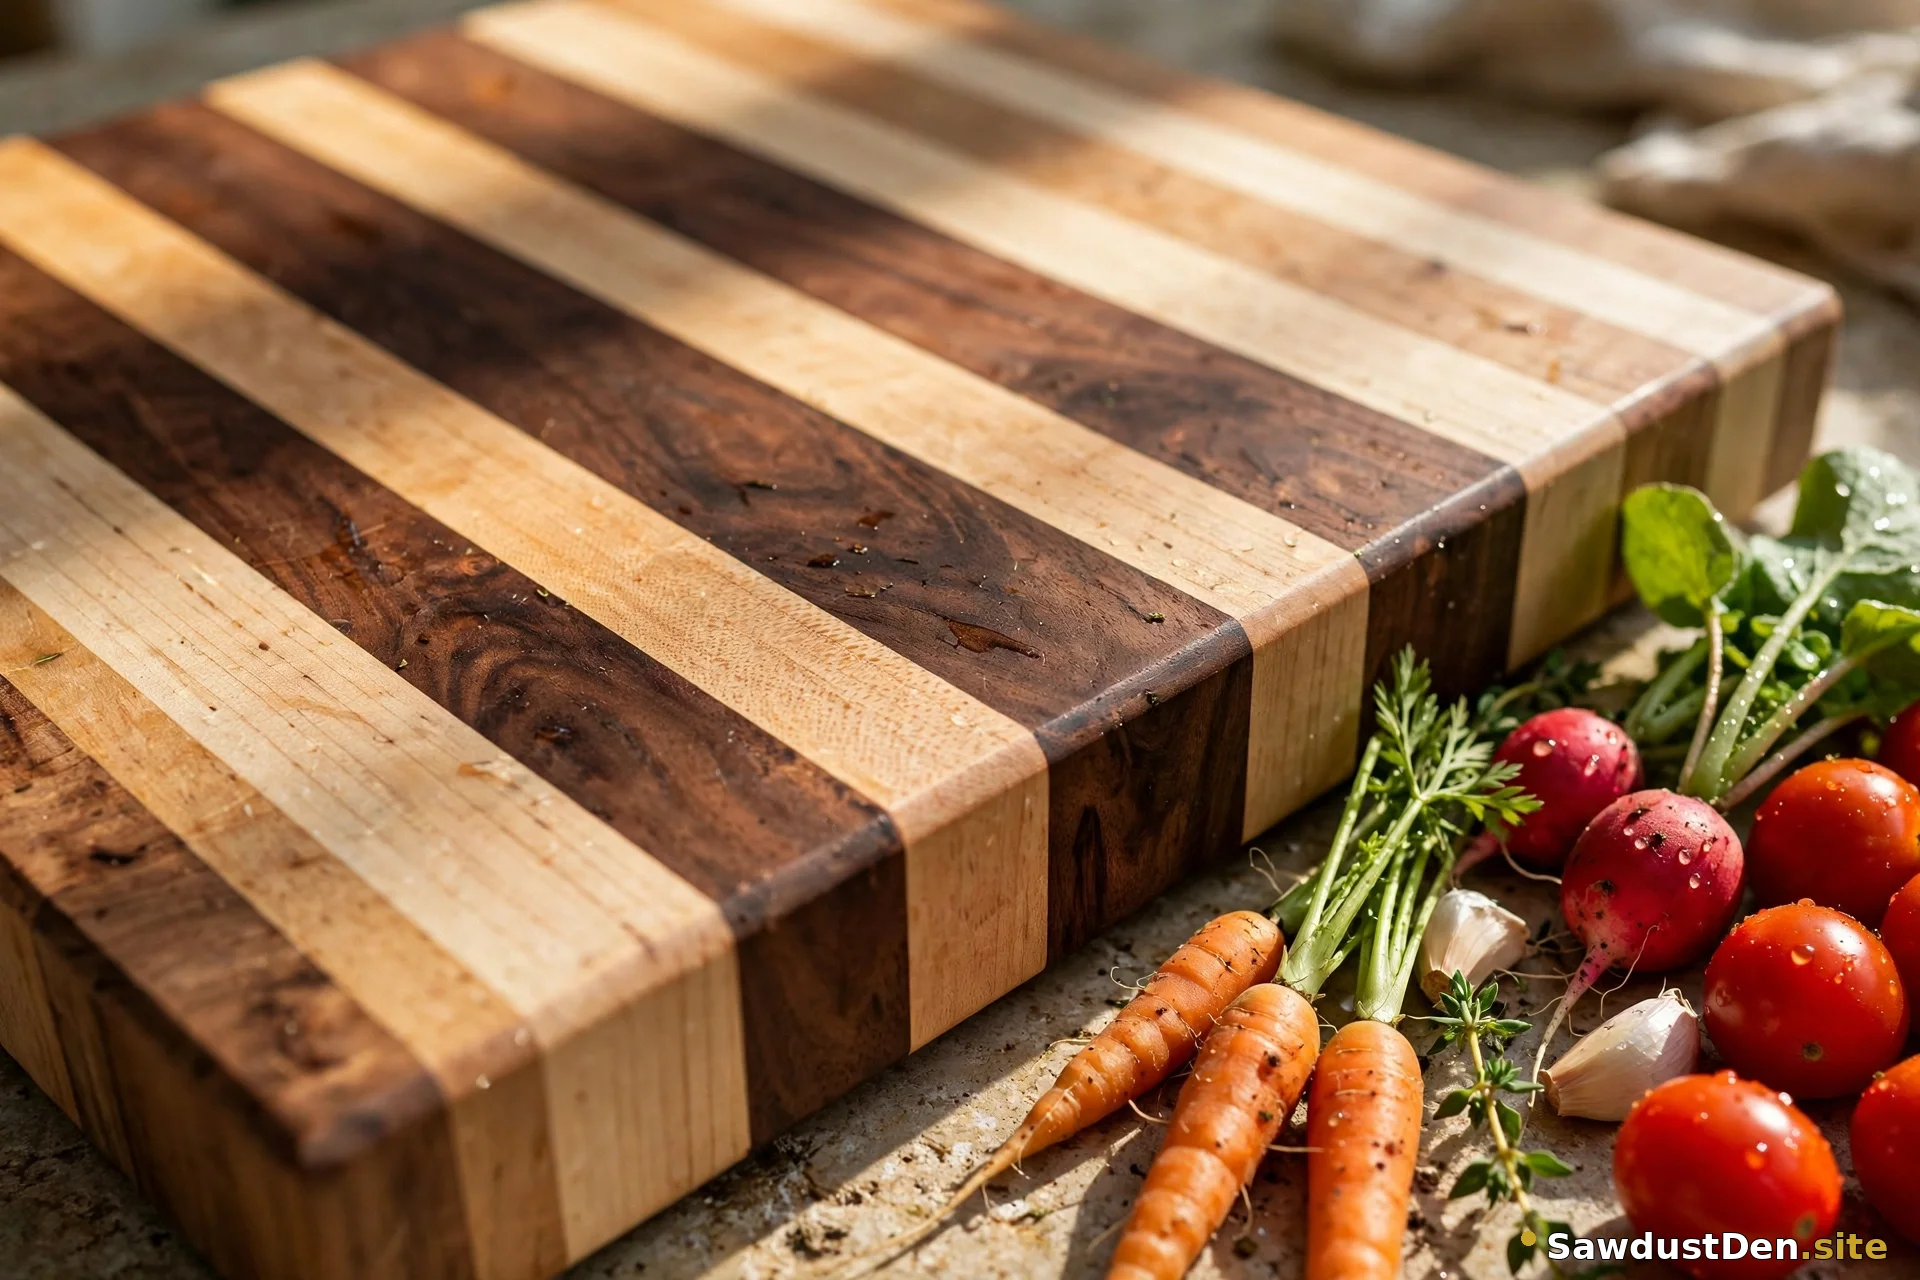
Start with maple. Hard maple is the classic cutting board wood for good reasons: it is hard enough to resist deep knife marks, tight-grained so it does not soak up juices, and easy to find. Walnut and cherry are also excellent beginner choices, a little softer than maple but beautiful, and they glue up the same way. Mixing two species, like maple with a walnut stripe, looks striking and works fine as long as both are hardwoods of similar thickness.
Avoid pine and other softwoods for a food board. Pine dents under a knife, the dents trap moisture, and a dented board is hard to keep clean. Avoid treated lumber completely — it is never for food contact. Avoid unknown exotic woods, even if they look beautiful, unless you can confirm they are food-safe and non-toxic; some species cause skin or breathing reactions, and a cutting board is the wrong place to find out. Stick to maple, walnut, or cherry for your first board, and you cannot go wrong.
The full cut list
Finished size: 12 inches long × 9 inches wide × 3/4 inch thick.
- Hardwood strips: cut 13 inches long × 3/4 inch thick, in widths of 1-1/2 to 2 inches, to total 9 inches of width — quantity 4 to 5 strips
- Example layout that totals exactly 9 inches: 2″ + 2″ + 2″ + 1-1/2″ + 1-1/2″ = 9″
- Final trim: trim the glued panel to 12 inches long after curing (the extra inch gives you room to square the ends)
The strips start at 13 inches so you can trim both ends square after glue-up. If your strips come out perfectly even, the trim is light. If they shift a little during clamping, which happens to everyone, the extra length saves the board.
What to buy
- One hardwood board, 3/4 inch thick, at least 4 feet long, in maple, walnut, or cherry — enough to cut five 13-inch strips from
- Waterproof wood glue (a Type III PVA glue labelled safe for indirect food contact once fully cured)
- Food-grade mineral oil and board wax (sold as cutting board oil and board butter, or plain food-grade mineral oil plus beeswax-based board wax)
- Sandpaper in 80, 120, and 220 grit for a random orbital sander, or sanding sheets for a hand block if you are sanding by hand
Ask the store to cut your board into strips if you do not have a saw yet, just like the shelf build. Bring the strip widths above and have them cut five strips at 13 inches long. You will do the glue-up, trimming, and sanding at home.
Tools you need
This board needs the beginner kit from Beginner Woodworking Tools: The Only 7 You Actually Need (And What to Skip for Now) — tape measure, speed square, pencil, drill/driver (not needed for this build, but part of the kit), clamps, safety glasses, and a dust mask — plus a random orbital sander if you have one, and a straightedge (a level or a metal ruler works) to check flatness. If you built the shelf from How to Build a Wooden Shelf With a Full Cut List (No Guesswork, No Missing Pieces), you already own the clamps and the measuring tools this board needs. No table saw, no planer, no router required.
Steps in order
1. Cut and arrange the strips
Cut your strips to 13 inches long and lay them side by side on the bench, in the order you plan to glue them. Check that the widths total 9 inches. Arrange the grain so it looks good together — alternate the grain direction and mix light and dark pieces if you are using two species — and mark the order with pencil numbers on the ends, so the layout does not get shuffled when the glue comes out. Dry-fit the whole panel before any glue touches wood.
2. Glue up flat
Work on a flat bench, not a warped table. Spread a thin, even coat of glue on one edge of each joint — too much glue just squeezes out and makes a mess, too little starves the joint — and press the strips together in order. Clamp across the panel to pull the joints tight, then clamp a flat board or straightedge across the top and bottom as well, to hold the panel flat while it cures. This top-and-bottom clamping is what stops the board from bowing as the glue dries. Wipe glue squeeze-out off both faces right away with a damp cloth, before it dries. Dried glue spots show up as pale patches under oil, and they are much harder to remove later than to wipe now.
3. Let it cure
Leave the panel clamped overnight, or for the full cure time on your glue bottle, whichever is longer. Do not unclamp early to “check” it — a half-cured joint that gets flexed never regains full strength. Patience here is the whole project. When the glue is fully cured, unclamp and check the panel: it should feel solid, with no joints that flex or gaps you can see light through.
4. Trim to size
Trim the panel to 12 inches long, squaring both ends with a handsaw guided by the speed square, then sand the ends smooth. If you have a circular saw or jigsaw, either works with a straight guide. The goal is square, clean ends, not speed. Check the width too: if the panel is a hair over 9 inches from glue-up shift, sand or trim the long edges until it measures 9 inches and the sides are straight.
Flattening without a planer
A planer flattens by cutting. A sander flattens by patience, and for a first board it works perfectly well.
Start with 80-grit paper on the random orbital sander. Sand the whole face evenly, moving slowly, and check with the straightedge every minute or so: lay the straightedge across the board in several directions and look for light under it. High spots show as shiny areas the sander hits first; low spots stay dull. Keep sanding the high spots until the straightedge sits flat with no rocking and no visible gaps.
Then move to 120 grit over the whole face, then 220 grit, sanding with the grain direction of the strips as much as you can. Each grit removes the scratches of the one before it. Do not skip grits — jumping from 80 to 220 leaves deep scratches that show under oil. Flip the board and repeat the same sequence on the other face, so both sides are flat and smooth.
If you are sanding by hand, the same grits and the same straightedge checks apply, just slower. A sanding block keeps the paper flat; sanding without a block rounds the edges and creates dips, which is exactly what you are trying to remove.
Food-safe finish and care
Finish with food-safe products only. Rub food-grade mineral oil into both faces and all edges with a cloth, let it soak in, wipe off the excess, and repeat until the wood stops drinking it in. Then apply a thin coat of board wax (a beeswax and mineral oil blend) and buff it off. The oil feeds the wood, the wax seals the surface, and together they keep water and juices from soaking in.
Never finish a food board with polyurethane, varnish, or lacquer — those finishes crack under knife cuts and flake into food. Never use cooking oil, like olive or vegetable oil — it goes rancid in the wood and smells bad within weeks. Mineral oil does not go rancid, which is why every cutting board guide recommends it.
Care is simple: hand wash with warm soapy water, dry upright so air reaches both faces, and never put the board in the dishwasher or leave it soaking in the sink. Both warp boards and crack glue joints. Re-oil whenever the board starts looking dry or pale, usually every few weeks with regular use. Light knife marks sand out easily with 220-grit paper followed by a fresh oil coat, so a well-made board lasts for years.
Safety notes for this build: clamp the board before any sawing, keep hands clear of the saw line, wear safety glasses and a dust mask for all sanding, and wipe glue squeeze-out before it dries, as above.
FAQ
Can I make a cutting board without a table saw?
Yes — this whole board is designed for it. Store cuts give you the strips, a handsaw or jigsaw trims the ends, and a random orbital sander flattens the faces. No table saw and no planer are needed at any step.
What glue is food-safe?
A waterproof PVA wood glue (Type III) that is labelled safe for indirect food contact once fully cured. Let it cure completely before oiling or using the board, and do not use construction adhesive, epoxy, or any glue not labelled for food contact on a board that touches food.
Why did my board warp after gluing?
Usually one of three things: the panel was not clamped flat top and bottom while curing, the strips were different thicknesses, or the board dried unevenly with one face against a damp bench. Prevent it by clamping flat, checking strip thickness before glue-up, and drying the panel on stickers or edge-up so air reaches both faces. A slight bow in a first board is common and usually sands flat.
How do I fix a board that is not flat?
Check with a straightedge to find the high spots, then sand them down through 80, 120, and 220 grit, checking often. Light unevenness always sands out. A severe bow or a twisted panel is harder: if sanding alone cannot flatten it without making the board too thin, the honest fix is to rip the worst joint and re-glue that strip flat, rather than forcing a warped board flat by bending it, which springs back later.
If a step in this guide does not make sense, or your glue-up did something unexpected, send a message through the Contact page and we will help you sort it out.