How to Build a Wooden Plant Stand That Fits Your Pot (With a Cut List You Can Resize)
TL;DR
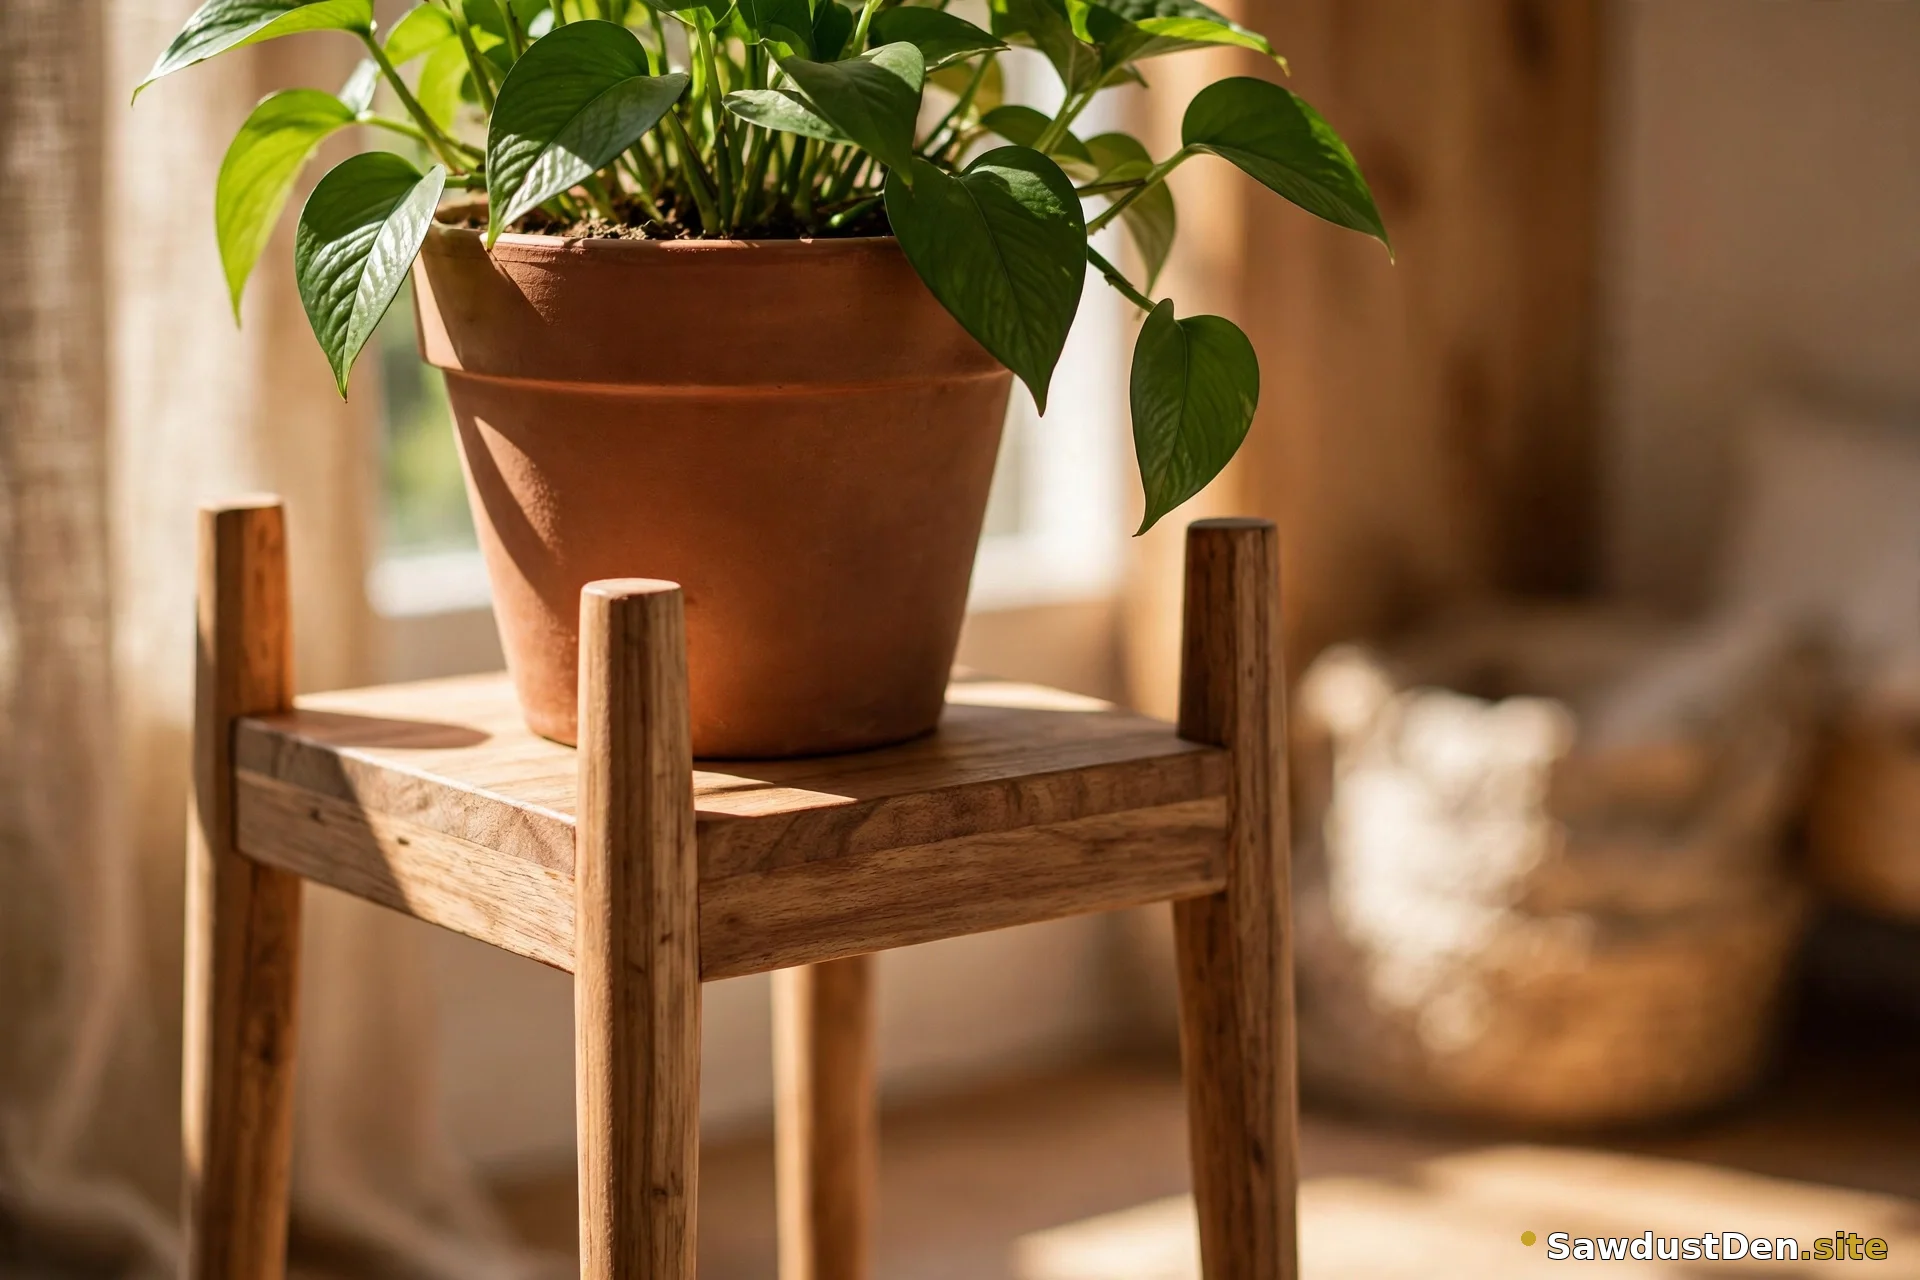
How to build a wooden plant stand that fits your pot starts with one measurement: your pot’s top diameter, plus one inch of clearance for the base. Measure the top, not the bottom, add one inch, and you have your base size — then scale the cut list below to match. The middle build in this guide fits a 10-inch pot on an 11-inch base, with 16-inch legs, and it goes together with screws and glue in an afternoon. No pocket-hole jig required, no wobble if you follow the level check, and the finish section covers indoor floors and covered porches separately.
In this guide
- Measure your pot first (the one measurement that matters)
- The cut list (middle size, plus the scaling table)
- What to buy
- Tools you need
- Steps in order
- Fixing wobble
- Finish: indoor vs covered porch
- FAQ
Measure your pot first (the one measurement that matters)
Most plant stand plans fail beginners in the same way: they are built for one pot size, and your pot is a different size. Resizing feels like guesswork, so people either build a stand that is too tight — the pot wedges in and you cannot lift it out to water — or too loose, so the pot rattles and looks lost.
Fix it with one measurement. Measure your pot’s top diameter, across the widest part of the rim, not the bottom and not the middle. Add one inch of clearance. That total is your base size. The inch gives you room to lift the pot in and out, accommodates a saucer underneath, and keeps the pot from binding against the frame as it expands slightly when wet.
Scaling table — pot top diameter to base size:
- 8-inch pot → 9-inch base
- 10-inch pot → 11-inch base
- 12-inch pot → 13-inch base
Leg height stays 14 to 16 inches for all three sizes — tall enough to lift the plant off the floor and show it off, short enough to stay stable. Taller than 16 inches with a heavy pot gets tippy, especially on a smooth floor. If your pot is a different size, apply the same rule: top diameter plus one inch equals base size, legs 14 to 16 inches.
The cut list (middle size, plus the scaling table)
This cut list is for the middle size: a 10-inch pot on an 11-inch base, with 16-inch legs. All pieces are 3/4 inch thick.
- Legs: 16″ × 1-1/2″ × 3/4″ — quantity 4
- Base cross pieces: 11″ × 3″ × 3/4″ — quantity 2
- Base slats: 11″ × 2-1/2″ × 3/4″ — quantity 4, spaced with small gaps for drainage
- Screws: #8 × 1-1/4″ — quantity 16 (for 3/4-inch to 3/4-inch joints)
- Wood glue: optional, but recommended with screws for long-term strength
To resize for a different pot, change only the base dimensions: for a 9-inch base, cut cross pieces and slats to 9 inches long; for a 13-inch base, cut them to 13 inches long. Legs stay 16 inches in all sizes. Slat count stays at four, with gaps adjusted slightly to fill the base width — the gaps also give water a place to drain, so the pot never sits in a puddle on a solid top.
What to buy
Buy three boards, and ask the store to cut them to the list above if you do not have a saw yet.
- One 1×2 board, 8 feet long, for the legs. A 1×2 actually measures 1-1/2 inches by 3/4 inch — exactly the leg size — and 8 feet covers four 16-inch legs (64 inches) with room to spare.
- One 1×3 board, 8 feet long, for the slats. A 1×3 actually measures 2-1/2 inches by 3/4 inch — exactly the slat size — and 8 feet covers four 11-inch slats (44 inches) with room to spare.
- One 1×4 board, 4 feet long, for the cross pieces. A 1×4 actually measures 3-1/2 inches wide; use it as it comes for 3-1/2-inch cross pieces, or ask the store to trim it to 3 inches for the exact cut list. Either width works structurally.
Shopping list, complete: one 1×2 × 8 ft board, one 1×3 × 8 ft board, one 1×4 × 4 ft board, sixteen #8 × 1-1/4″ screws, wood glue if you want it, and felt pads for the leg feet (see the finish section). If you have not bought wood before, our wood guide explains pine, oak, and plywood choices — pine is the right budget choice for this stand, painted or stained.
Tools you need
This stand needs the beginner kit from our tools guide — tape measure, speed square, pencil, drill/driver, clamps, safety glasses, and a dust mask — plus a level for the checks below. No pocket-hole jig is required: screws and glue join this stand perfectly well, as our joinery guide explains. If you already own a pocket-hole jig, you can use it for hidden screws on the frame, but the stand does not depend on it, and buying one just for this build is unnecessary.
Steps in order
- Cut and sand first — Cut all pieces to the list, then sand before assembly. Sanding assembled corners and inside edges is awkward; sanding flat pieces first is easy. Sand through 120 then 150 grit, with the grain, and round the sharp edges lightly so the finished stand feels good to handle and does not snag. If you had the store cut your pieces, check each one against the cut list with your tape measure before you start.
- Attach opposite legs first, then check level — Lay two legs flat and attach the first cross piece across them with screws and glue, clamping first, drilling pilot holes, then driving screws. Repeat with the opposite pair of legs and the second cross piece. Then stand the two leg pairs up and check: set the frame on a flat floor and check level across the top in both directions. Fixing level now, with only two pairs attached, is easy. Fixing it after the whole stand is assembled is hard.
- Join the pairs and add slats — Connect the two leg pairs with the slats, which form the top platform the pot sits on. Space the four slats evenly across the 11-inch base, leaving small gaps between them for drainage. Clamp each slat, drill pilot holes, and drive screws into the cross pieces. Keep screws clear of the top edge where the pot rim will sit — a screw head poking into the pot’s space can scratch the pot or stop it sitting flat.
- Check square and level again — Set the finished stand on a flat floor. Check level across the top in both directions, and check that the frame is square — opposite corners should measure the same diagonally. If a leg is slightly long, the wobble section below fixes it. Do not skip this check and discover the wobble only when the pot is on top and full of soil.
Fixing wobble
A wobbling stand almost always means one leg is slightly longer than the others, or the floor itself is uneven. Test on a flat floor first, not on carpet or an uneven patio, so you know whether the stand or the floor is at fault.
Rock the stand diagonally: press one corner, then the opposite corner. The leg that lifts when you press the opposite corner is the long one. Mark it, take a small amount off the bottom with sandpaper or a hand saw — a little at a time, re-checking after each pass — until the stand sits flat with no rock in either diagonal direction. If the floor is uneven, a felt pad or a small shim under the short leg is an acceptable fix for indoor use, but a stand that wobbles on a flat floor needs trimming, not shimming, or it will always feel unstable.
Finish: indoor vs covered porch
Indoor finish: stain or paint, then a clear topcoat, following our stain guide for an even colour. Stick felt pads under all four leg feet — they protect wood floors from scratches and from watering spills that run down the legs. Always use a saucer under the pot indoors: the slat gaps drain water through, and without a saucer that water reaches your floor.
Covered-porch finish: use an exterior-rated finish, not an indoor one, and keep the drainage gaps open so the pot never sits in standing water. Pine works on a covered porch with a good exterior finish, but a fully exposed stand in rain and sun needs a weather-resistant wood and exterior finish, not plain pine with an indoor topcoat. If your porch gets direct rain, treat this as an outdoor project with outdoor materials, not just an indoor stand moved outside.
In both cases, let the finish cure fully before placing the pot, and re-check level after the first week — wood moves slightly as it acclimates, and a quick re-check catches any new wobble early.
FAQ
What size plant stand do I need for a 10-inch pot?
An 11-inch base, with 16-inch legs. Measure the pot’s top diameter (10 inches), add one inch of clearance, and you get the 11-inch base size. The cut list in this guide is built for exactly that pot.
How do I stop my plant stand wobbling?
Test on a flat floor, rock it diagonally to find the long leg, and trim a small amount off that leg, re-checking after each pass. Do not shim a stand that wobbles on a flat floor — trimming fixes the cause, shimming only hides it until the shim moves.
Can I leave a wooden plant stand outside?
On a covered porch with an exterior finish, yes. Fully exposed to rain and sun, plain pine with an indoor finish will not last — use weather-resistant wood and an exterior finish, and keep drainage gaps open so water never pools under the pot.
Do I need a pocket-hole jig?
No. This stand joins with screws and glue, which are strong, simple, and do not need a jig. A pocket-hole jig gives hidden screws and a cleaner look, and it is a fine later buy, but it is not required here, and buying one first would not make this stand any stronger.
How do I protect my floor from watering spills?
Use a saucer under the pot, always, indoors. The slat gaps in this design drain water through by design, so a saucer catches it before it reaches the floor. Add felt pads under the leg feet for scratch protection, and wipe up spills promptly rather than letting them sit under the stand.
If a step in this guide does not make sense, or your pot is an unusual shape that the sizing rule does not cover, send a message through the Contact page and we will help you sort it out.