
Beginner Woodworking Mistakes: 9 Fixes That Save Your Project (Not Just Warnings)
TL;DR
Beginner woodworking mistakes are not the end of a project — most of them are fixable, and this guide gives you the rescue for each one before you reach for a new board. Every fix below follows the same rescue-first pattern: what went wrong in one line, what to do right now in concrete steps, and the habit that stops it happening again. Use it as a lookup: find your mistake, follow the fix, and keep building. Only one box in this guide tells you to start over, and it is there so you do not waste an evening rescuing a piece that costs less to replace.
In this guide
- 1. Board cut 1/8 inch too short
- 2. Split board from no pilot hole
- 3. Tear-out from cutting against the grain
- 4. Blotchy stain
- 5. Glue stain patch under the finish
- 6. Scratches from skipped sanding grits
- 7. Wobbly frame
- 8. Stripped screw hole
- 9. Warped board
- When to start over
- Safety note
- FAQ
1. Board cut 1/8 inch too short
What went wrong: the board is just short enough that the joint gaps or the piece does not reach, usually from measuring once, cutting once, and trusting the first mark.
Fix it now: do not force the joint closed — forcing pulls the frame out of square and the gap reappears somewhere else. Instead, trim the matching piece to the same short length if the design allows it (a shelf that is 1/8 inch shorter than planned still works fine), or add a thin shim or trim strip to fill the gap, glued and sanded flush so it disappears under finish. A 1/8-inch gap filled with a matching strip is invisible after sanding and finishing.
Never again: measure twice, cut once, and cut long first — cut a fraction long, test-fit, then trim to exact length. The extra minute of test-fitting saves more boards than any other single habit.
2. Split board from no pilot hole
What went wrong: a screw driven without a pilot hole wedged the wood fibres apart, usually near a board end or in hardwood, and the board cracked along the grain.
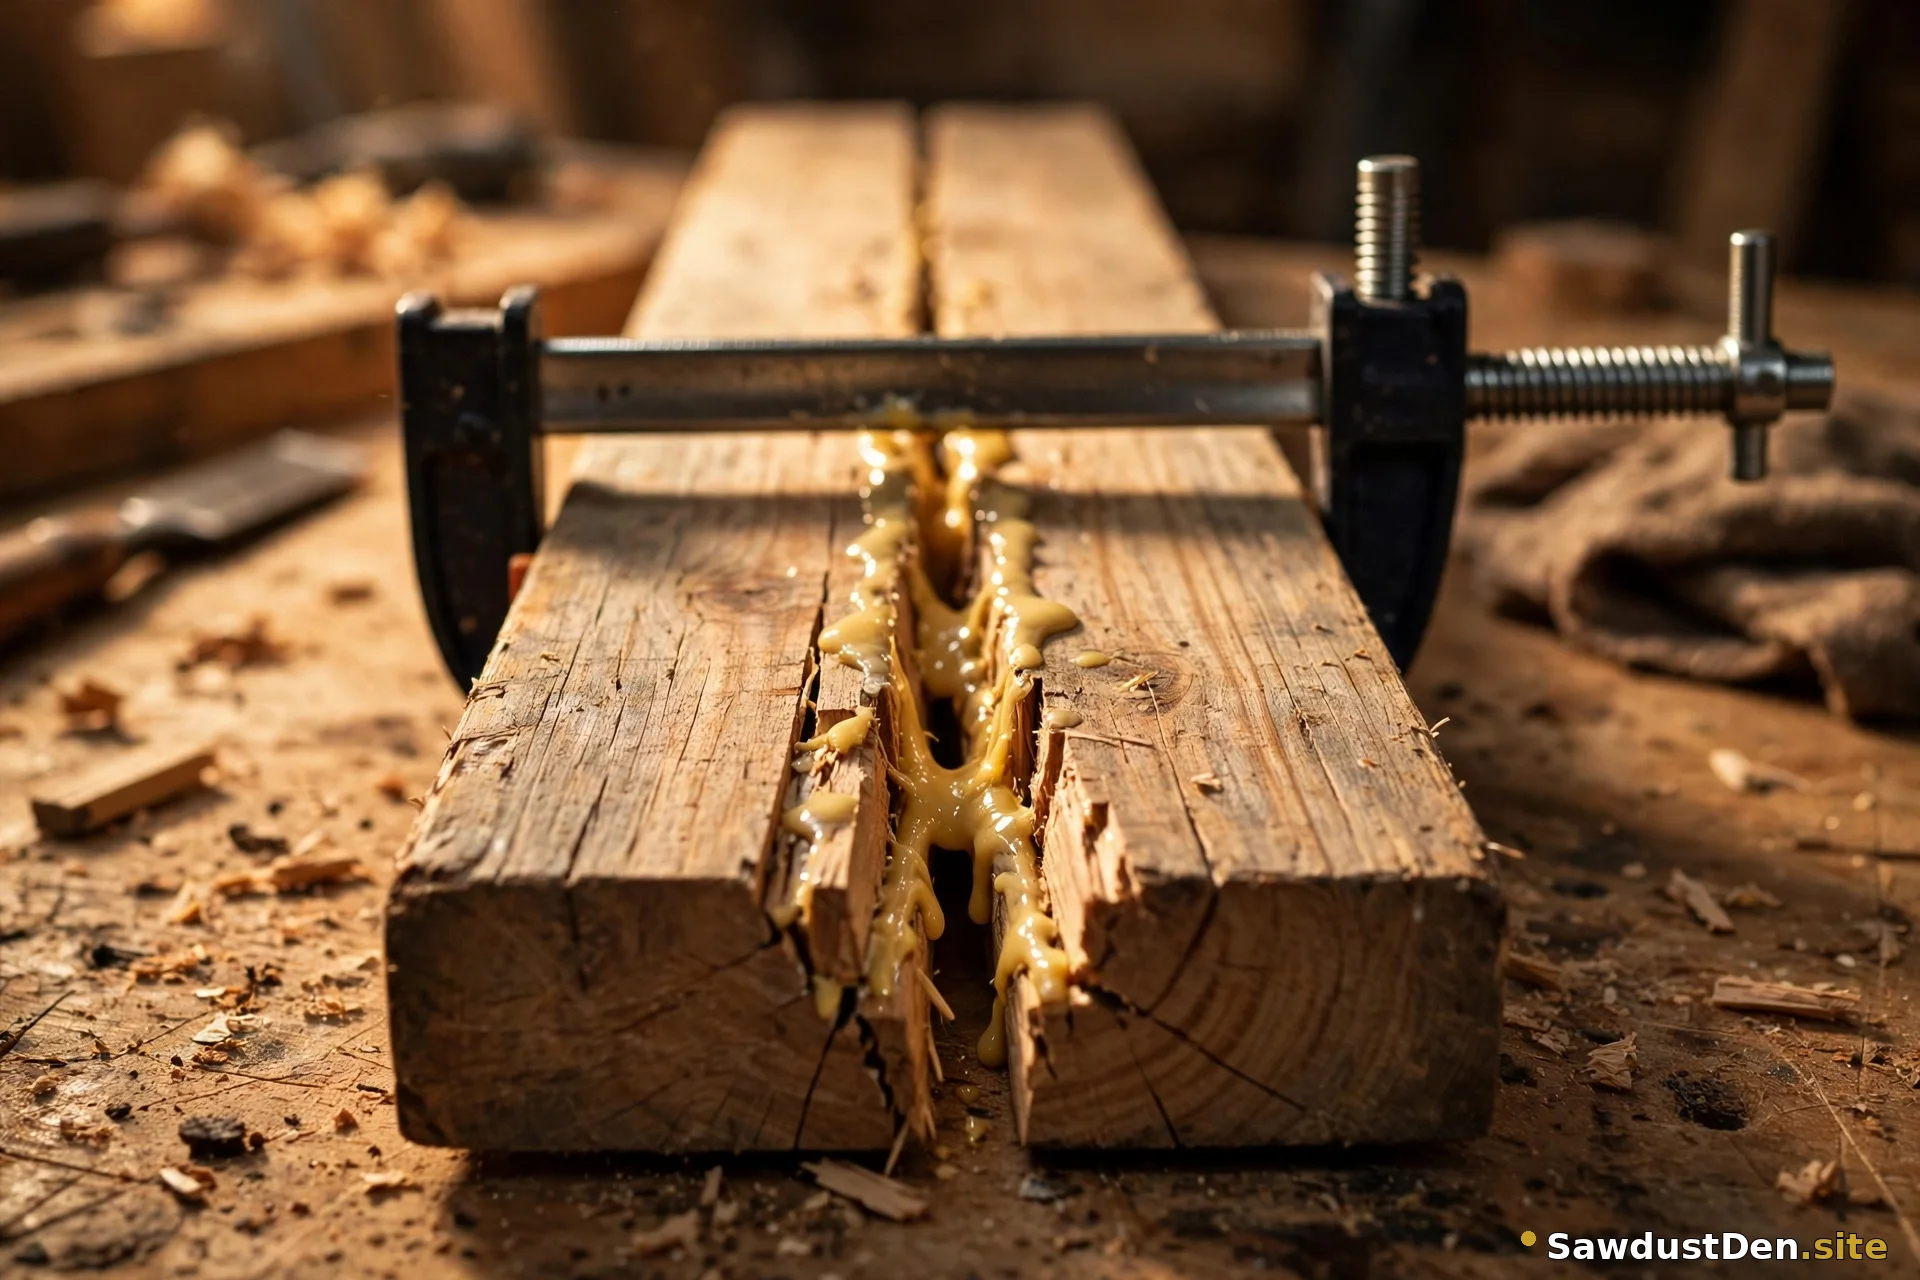
Fix it now: back the screw out, squeeze wood glue into the split, clamp the crack closed, and let it cure fully. Then re-drill with a proper pilot hole — slightly smaller than the screw’s core — and drive the screw again. If the split is at the very end of the board, or the crack runs through the screw hole itself, plug the hole with a glued dowel, let it cure, trim it flush, and re-drill. Our joinery guide (https://sawdustden.site/how-to-join-wood/) covers pilot holes and dowel repairs in full.
Never again: drill pilot holes for every screw near a board end and in hardwood, and keep screws a few diameters away from ends. Set your drill clutch low so screws stop before they over-drive and split the wood.
3. Tear-out from cutting against the grain
What went wrong: the saw or plane cut against the grain direction, lifting fibres and leaving a rough, torn edge instead of a clean cut, usually on the exit side of the cut.
Fix it now: light tear-out sands out — sand with the grain through the grits until the torn fibres disappear, and finish by hand with the grain for the last pass. Deeper tear-out on a visible edge can be filled with a matching wood filler, sanded flush, and finished over, though filler shows under clear stain, so save that fix for painted pieces or hidden edges.
Never again: read the grain before you cut — fibres should slope away from the cut direction, not into it — and score the cut line with a knife or a shallow first pass on crosscuts, so the fibres sever cleanly instead of tearing. A sharp blade tears less than a dull one, on every tool.
4. Blotchy stain
What went wrong: the stain soaked unevenly, leaving dark patches and pale patches, usually on pine or another softwood that absorbs stain at different rates across the grain.
Fix it now: sand the blotchy area back to bare wood, then restain with a pre-stain conditioner or a gel stain, which sits on the surface instead of soaking unevenly. Test on a scrap offcut first — the same board, the same conditioner, the same stain — and compare the result before you commit to the whole piece. Our stain guide (https://sawdustden.site/how-to-stain-wood-without-blotches/) walks through the scrap test and the conditioner method step by step.
Never again: never stain a softwood without a scrap test, and never skip conditioner on pine. The five minutes a scrap test costs is nothing against an evening of sanding back a blotchy panel.
5. Glue stain patch under the finish
What went wrong: dried glue squeeze-out that was not wiped off shows as a pale patch under stain or clear finish, because glue seals the wood and blocks stain from soaking in.
Fix it now: sand the patch back to bare wood — the glue must be fully removed, not just roughed up — then restain that area, blending into the surrounding finish. If the patch is large, sand the whole panel face back and restain it evenly, rather than trying to spot-match a stain colour, which almost never blends perfectly.
Never again: wipe glue squeeze-out off both faces with a damp cloth right away, before it dries, and check for squeeze-out under raking light before finishing. A quick wipe during glue-up saves a full sand-back later.
6. Scratches from skipped sanding grits
What went wrong: jumping from coarse grit straight to fine grit left deep scratches that the fine grit could not remove, and they show under finish as faint lines across the grain.
Fix it now: go back and sand through the full progression — 80, then 120, then 150, then 180 — with the grain at every step, and finish the last pass by hand with the grain, not with the sander. The hand pass removes the last machine marks and leaves a surface that takes stain evenly. Do not try to hide scratches with extra finish coats; finish magnifies them instead.
Never again: never skip a grit, and never sand across the grain except to remove a specific defect, followed by with-grain passes to erase the cross-grain marks. Sanding feels slow, but it is the step that separates a beginner finish from a good one.
7. Wobbly frame
What went wrong: the frame is out of square, or one leg is slightly longer than the others, so the piece rocks on a flat floor instead of sitting solid.
Fix it now: check square first — opposite corners should measure the same diagonally — and check level across the top in both directions. If the frame is out of square, add a diagonal brace across the back or clamp it square and re-glue the loose joint. If the frame is square but one leg is long, trim that leg a little at a time, re-checking after each pass, until the rock disappears in both diagonal directions. Our plant stand guide (https://sawdustden.site/how-to-build-a-wooden-plant-stand/) shows the diagonal rock test in detail.
Never again: check square and level at every assembly stage, not only at the end. A frame glued out of square is hard to fix; a frame checked while the glue is still wet is easy to correct.
8. Stripped screw hole
What went wrong: the screw spins without biting because the wood around it is chewed out, usually from over-driving, or from removing and re-driving the same screw several times.
Fix it now: fill the hole with a glued dowel — glue a dowel into the hole, let it cure, trim it flush, then re-drill a pilot hole and drive the screw again. The new wood gives the threads something fresh to bite, and the repair is stronger than the original hole. For a quick temporary fix, a wooden matchstick or toothpick with glue in the hole can hold a light screw, but a dowel is the proper repair for anything structural.
Never again: set your drill clutch low, drive screws once, and avoid removing and re-driving screws in the same hole. If a screw must come out, re-drill a fresh pilot hole before driving it back in.
9. Warped board
What went wrong: the board twisted, bowed, or cupped after you bought it, usually because it was stored badly, or because it acclimated to your workshop’s humidity after being stored somewhere damp or dry.
Fix it now: a slightly cupped board can sometimes be flattened by a careful glue-up with clamps across the width, or by planing — but a beginner without a planer should not try to force a badly warped board into a project. Mild warp in a small piece can be worked around by cutting it into shorter pieces, which warp less. Severe warp in a structural piece is a replace-the-board situation, not a fix-it situation.
Never again: buy straight boards (sight down the edge, reject twist, bow, and cup), store them flat and supported, and let them acclimate in your workshop for a few days before building. Our wood guide (https://sawdustden.site/pine-vs-oak-vs-plywood/) explains how to pick straight boards at the store, which is where most warp problems are prevented.
When to start over
Start over when the board is cut far too short to shim or trim around, when a split runs through a structural joint and glue cannot restore its strength, or when warp is so severe that forcing the board flat would stress every joint in the piece. A replacement board costs a few dollars; an evening spent rescuing a doomed piece costs your time and your enthusiasm, and the rescued piece often fails later anyway. Starting over is not failure — it is the experienced choice, and every woodworker makes it regularly.
Safety note
Never force a fix on a powered tool. A dull blade, a binding cut, or a tool that feels wrong is a stop signal, not a push-through moment: stop, unplug the tool, and check the setup — blade sharpness, fence alignment, workpiece support — before you continue. Forcing a cut is how most workshop injuries happen, and no project is worth it. Our safety guide (https://sawdustden.site/workshop-safety-for-beginners/) covers stop signals and the two-minute pre-session check in full.
FAQ
Can I fix a board I cut too short?
If it is only 1/8 inch short, yes — trim the matching piece to match, or fill the gap with a shim or trim strip glued and sanded flush. If it is cut far too short, replace the board; a large filler strip looks bad and weakens the joint.
How do I fix a split in wood?
Glue the split, clamp it closed, let it cure fully, then re-drill with a pilot hole before re-driving the screw. If the split runs through the screw hole itself, plug the hole with a glued dowel first, let it cure, trim flush, and re-drill.
Why is my project wobbly?
Usually the frame is out of square, or one leg is slightly longer than the others. Check square diagonally and level across the top, add a diagonal brace if the frame is racked, or trim the long leg a little at a time until the rock disappears.
Can I fix blotchy stain without sanding everything off?
Not reliably. Small blotches can sometimes be evened with a gel stain over the top, but the reliable fix is to sand back to bare wood and restain with conditioner or gel stain, testing on a scrap offcut first.
When should I throw a piece away and start over?
When the board is cut far too short to shim around, when a split runs through a structural joint, or when warp is severe enough that forcing it flat stresses the whole piece. A replacement board is cheap; a failed rescue costs your evening and often fails later anyway.
If a mistake in this guide does not match yours, or a fix here did not work on your piece, send a message through the Contact page (https://sawdustden.site/contact/) and we will help you sort it out.